


How to Choose the Best Astrophotography Camera and Other Tips to Improve Your Astrophotography!
- RayCee the Artist

- Jan 20, 2023
- 7 min read
Updated: Jan 20, 2023

With the clear night sky as your backdrop, astrophotography is a thrilling way to capture the solar system and universe! With the right camera and settings, you can photograph stunning images of distant galaxies, nebulae, and star clusters. This blog post will teach you everything you need to know about astrophotography cameras, from what type of camera to use to which settings will produce the best results. You'll also learn about the best times and locations for photographing the night sky. So grab your camera and prepare to shoot some breathtaking astrophotography!
What Is Astrophotography and Why Do People Enjoy It So Much?
Astrophotography is a type of photography that focuses on capturing the night sky and its objects, such as stars, galaxies, comets, and nebulae. Many photographers are drawn to astrophotography because of its power to capture images of a stunning star-filled sky away from city lights. Astrophotography can be done with any digital camera with manual settings, but the best astrophotography can only be captured with professional astrophotography cameras and lenses. Because astrophotography require long exposure times, the best time for astrophotographers to capture their shots is during clear nights near dusk and dawn in remote locations far from city lights. Astrophotography is an incredibly enjoyable hobby and photographers often find themselves in awe of what appears on the screen when they have taken a great astrophoto!
The Best Camera for Astrophotography - DSLR vs. Mirrorless vs. Point-and-Shoot
Choosing the best cameras for astrophotography is an important decision to make, as it will determine your shooting experience and resulting photos. When weighing the pros and cons of different types of astrophotography cameras, it’s necessary to consider their strengths and weaknesses. Full frame DSLR cameras for astrophotography tend to be more robust and carry a wider variety of camera lenses, making them ideal for capturing detailed images in complex astrophotography settings. Full frame mirrorless cameras for astrophotography are far lighter and less bulky than DSLRs, but they can still deliver quality images with high dynamic range. Point-and-shoot cameras are cost-effective and typically transportable for capturing images, but they sacrifice some of the functionality afforded by the top-tier high end cameras. Also, the best cameras/popular camera body brands include Canon cameras and Nikon cameras.
You should also consider factors such as sensor size, dynamic range, and low light performance since image quality, clarity, and sharpness in your photos will depend upon them. While some astrophotographers may find that a point-and-shoot camera is perfectly adequate for their needs, most will prefer more sophisticated astrophotography cameras like a DSLR camera or full frame mirrorless camera with more manual control over settings such as aperture, ISO, shutter speed, etc., allowing them more creative options while taking astrophotography shots.
Also, having a quality LCD screen/rear screen on astrophotography full frame cameras (DSLR cameras or mirrorless cameras) can be extremely beneficial in order to get a good visualization of the image you created. A high quality LCD screen will make it clear whether or not you captured your desired number of stars or other solar system objects without having to view your photographs on a computer screen.
At the end of the day, the best astrophotography camera for you depends on your individual needs - what type of features do you need? What is your budget for a camera for astrophotography? Are you an experienced astrophotographer or a beginner? With all this in mind, savvy astrophotographers should have no problem finding which type of camera for astrophotography is right for them.
Best Camera Settings for Astrophotography

Taking astrophotography shots is a great way to capture the beauty of the night sky and its many star-filled wonders. To perfect the shot, it’s important to understand the proper astrophotography camera settings for the best results. When it comes to astrophotography, ISO, shutter speed, aperture, and other camera settings are key. For astrophotography shots, generally, a low ISO (around 800 to get very little noise) and long exposures with a wide aperture are recommended as they enable more light to be captured in your image. Depending on the gear you have available and your desired results, adjusting shutter speeds between 15-30 seconds can deliver a high-quality astrophotography photo. Also, be sure to use wide angle lenses (wide focal length) to capture more of the night sky and deep sky objects.
When deciding on settings, be aware that high ISO levels can produce a lot of noise in astrophotography photos and long exposures can run the risk of introducing motion blur from stars' apparent movement over their exposure time. A lower ISO range and relatively faster shutter speeds can help minimize these risks as long as they don't dramatically reduce your desired level of brightness in the shot. Also, it's best to use a DSLR camera or full frame mirrorless camera with a wide-angle lens (wide focal length) and the capability for manual control over ISO, shutter speed, aperture, white balance, and other settings.
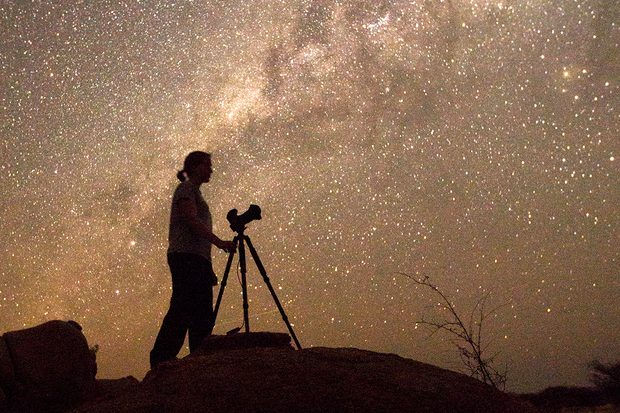
For more accurate pictures of stars, having an astrophotography star tracker mount is beneficial as the star tracker mount allows your camera to move at the same rate that stars appear to move against Earth’s rotation. Also, since a sturdy tripod will be necessary for long exposure night sky imaging, a camera's in body image stabilization does not need to be turned on. Having this equipment plus understanding astronomy and camera basics will ultimately contribute towards taking exceptional astrophotography shots!
Best Locations for Astrophotography

Capturing the celestial wonders of the night sky can be an amazing experience. When it comes to deep sky astrophotography, finding a great location is key. Thankfully, astrophotographers have access to some wonderful dark sky locations like national parks and dark skies reserves. These sites provide unique opportunities for astrophotographers to capture the beauty of a truly dark sky with their astrophotography camera. Be sure to do your own research when looking for these ideal spots, as each place gives you different chances to capture awe-inspiring photos of galaxies, nebulas, and more!
Best Times for Astrophotography

Taking deep sky astrophotography photos requires planning, patience, and the right equipment. Before getting started, it is important to decide when to take astrophotography pictures. Taking astrophotography pictures during the best times results in stunning photographs of starry nights and galaxies.
The best times tend to be determined by moon phases, seasons, and weather conditions. In particular, astrophotographers should strive to take astrophotography photos during a new moon phase; as it will result in darker skies with high visibility of stars. Also during warmer seasons such as summer, astrophotographers can typically find more clear sky days.
Lastly, astrophotographers should take into account the local weather conditions before heading out for astrophotography; as storms and winds can adversely affect photo quality and damage equipment. Having an astrophotography camera that can handle low light situations will help ensure the photos come out great no matter what time or season astrophotographers choose to shoot away!
New Moon
Astrophotography during a new moon is highly sought-after by astrophotographers due to the lack of light pollution caused by the illumination from the moon. During a new moon, photographers can capture breathtaking images of deep space objects and phenomena such as galaxies, nebulae, star clusters, and meteor showers. The darkness provided during a new moon helps astrophotographers to capture faint details that are otherwise overwhelmed by light pollution from other celestial bodies. Astrophotographers often travel long distances to take advantage of dark sky locations and maximize their chances of capturing stunning photos during a new moon.
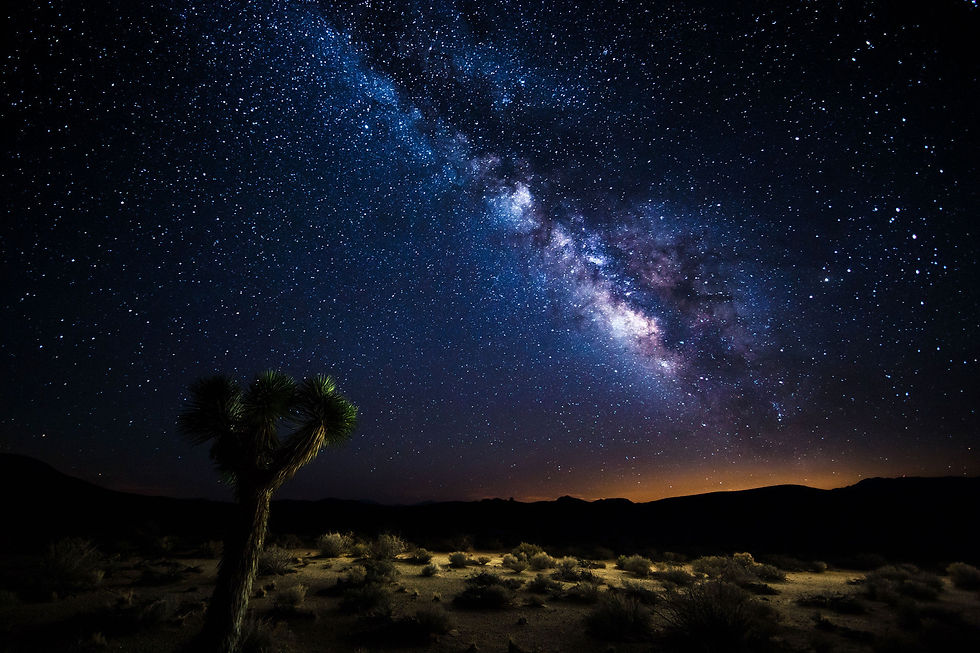
The moon is not visible to us during the new moon phase, so this provides the darkest skies and the least amount of light. A night with a new moon is great for capturing single-exposure star trails. Because there is no excessive light in the sky (as long as you are not near a city), you can leave your shutter open for hours and not have to worry about overexposure. Having an extremely long shutter speed produces very long star trails. This is also a great time to capture those concentric rings around the North Star! The new moon is also a great chance to photograph the Milky Way! The stars will be more visible due to the darkness of the sky.
First Quarter Moon
The first quarter moon is the first full phase after the new moon. Astrophotography is particularly enjoyable during the first quarter moon, when a portion of the moon's visible face is illuminated. This makes it easier to capture details in the shadows and highlights of the lunar surface, resulting in beautiful photos that highlight craters, mountains, and other features on the moon's face.
Also, it is important to note that the sky tends to be lighter (have more light in it) during this time, which hides the dimmest stars. It also means you can not leave your shutter open for as long as you could during a new moon.
Full Moon
The sky is brighter during a full moon phase, which makes it more difficult to capture a lot of stars. The brighter the sky, the less stars you will capture. A brighter sky also means that you will need to use a shorter shutter speed exposure, which leads to shorter star trails.
Third Quarter Moon
The third quarter moon phase is similar to the first quarter moon. The skies are moderately dark, which allows for long exposures (and longer star trails) compared to the full moon phase.
Tips and Tricks for Getting Started in Astrophotography

To get started in deep sky astrophotography, the first step is to have the proper tools. Investing in the right astrophotography camera, camera lenses, and sturdy tripod can make the difference between success and failure when trying to capture stunning images of deep space objects. Knowing which settings to use is also key. Generally, astrophotographers prefer longer exposure rates between 15-30 seconds, lower ISO range (typically 100-800), and very wide apertures (f/4 or wider).
Along with the gear needed for astrophotography, choosing the best location and time of day or night are essential as well. While some astrophotography can be done from any moderately dark location during any part of the night that has clear skies, optimal astrophotography is usually done in remote areas with little to no light pollution. Additionally, avoiding moonlight can also help produce better results as it casts light around and saturates your photos more than you could hope for using artificial lights.
Conclusion
Astrophotography is an amazing way to capture the beauty and splendor of stars, nebulae, and other cosmic bodies. It takes some skills, research, and practice to get the most out of it, but the results speak for themselves! With the right camera settings and timing, you can duplicate beautiful images taken by well-established astrophotographers.
Remember some of the best locations to take astrophotography photos – national parks, dark skies reserves, as well as city parks that have installed fixtures to reduce light pollution. To improve your chances of success, remember to pay attention to moon phases, seasons, and general weather conditions when picking the time for shooting. With various contributing factors put together, you will become successful in your astrophotography journey!


